Setup
InfoIf you have successfully installed the Autodarts Desktop Client, you can begin the initial setup process by following the steps below.
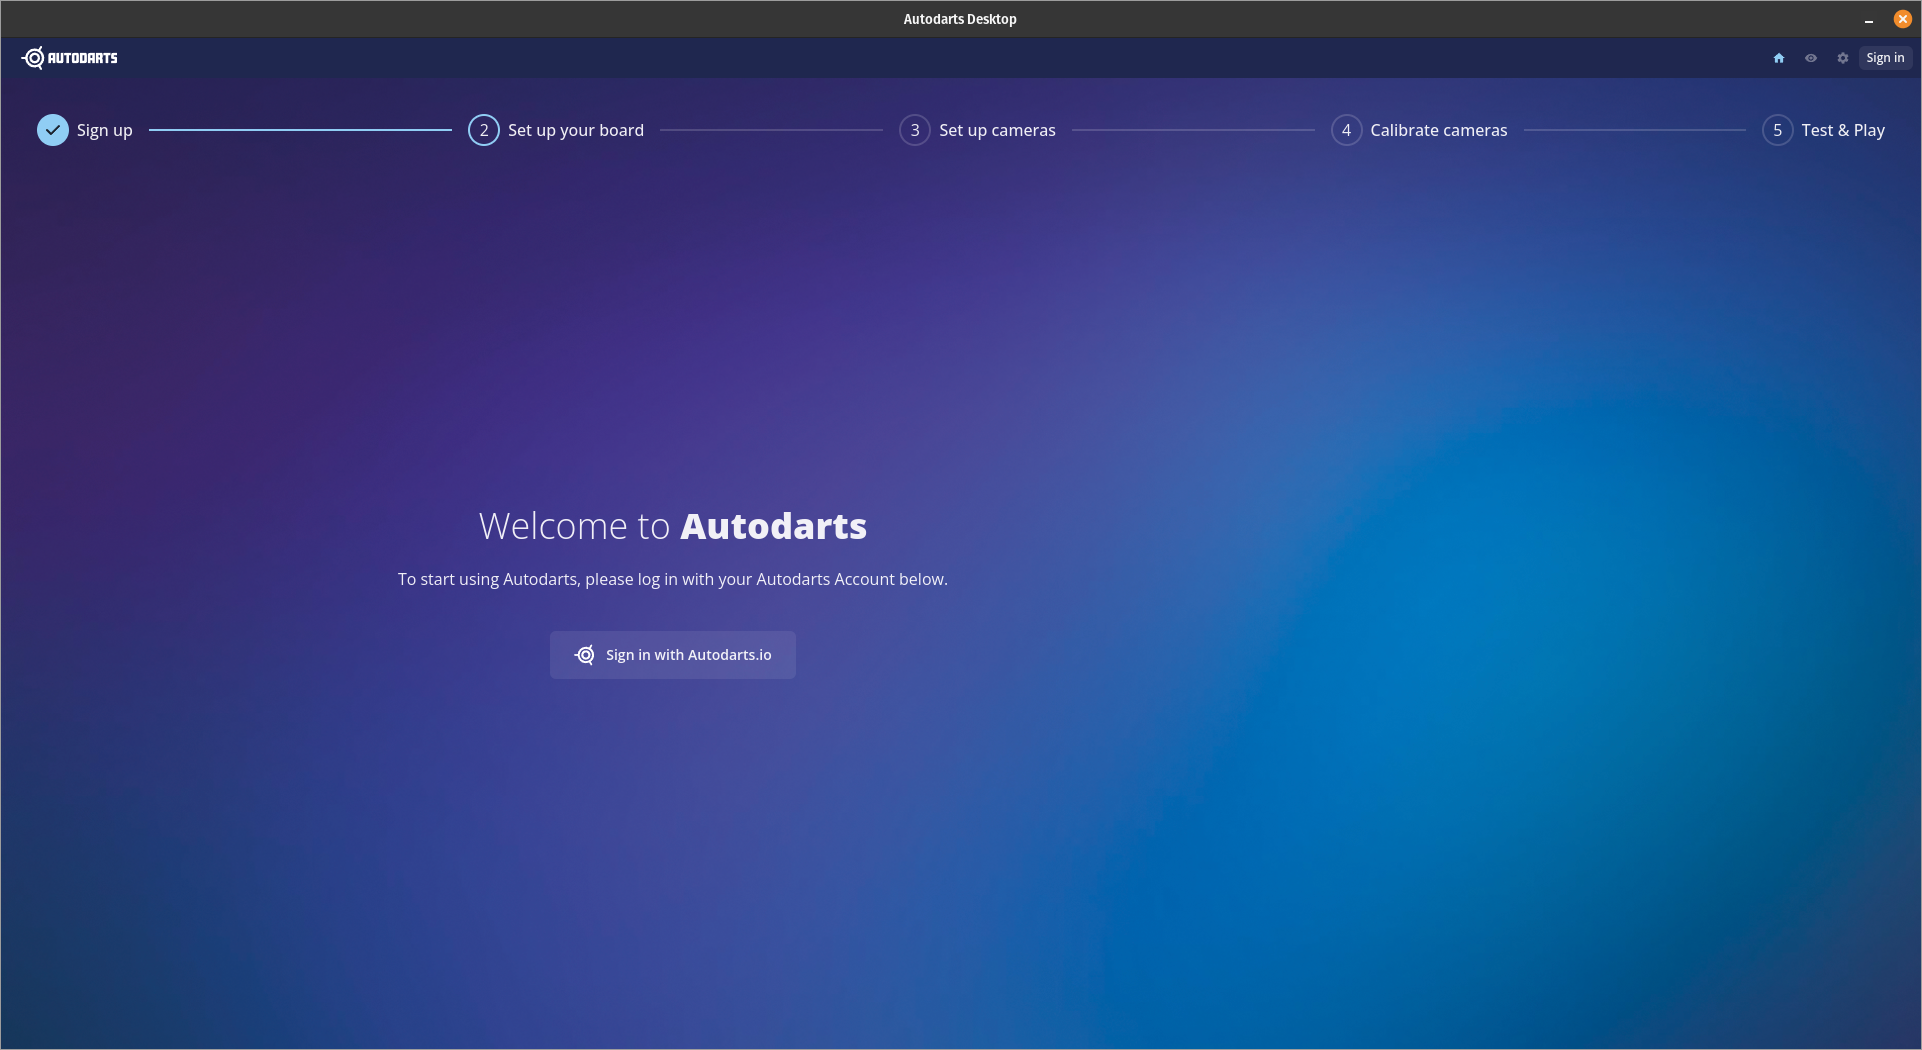
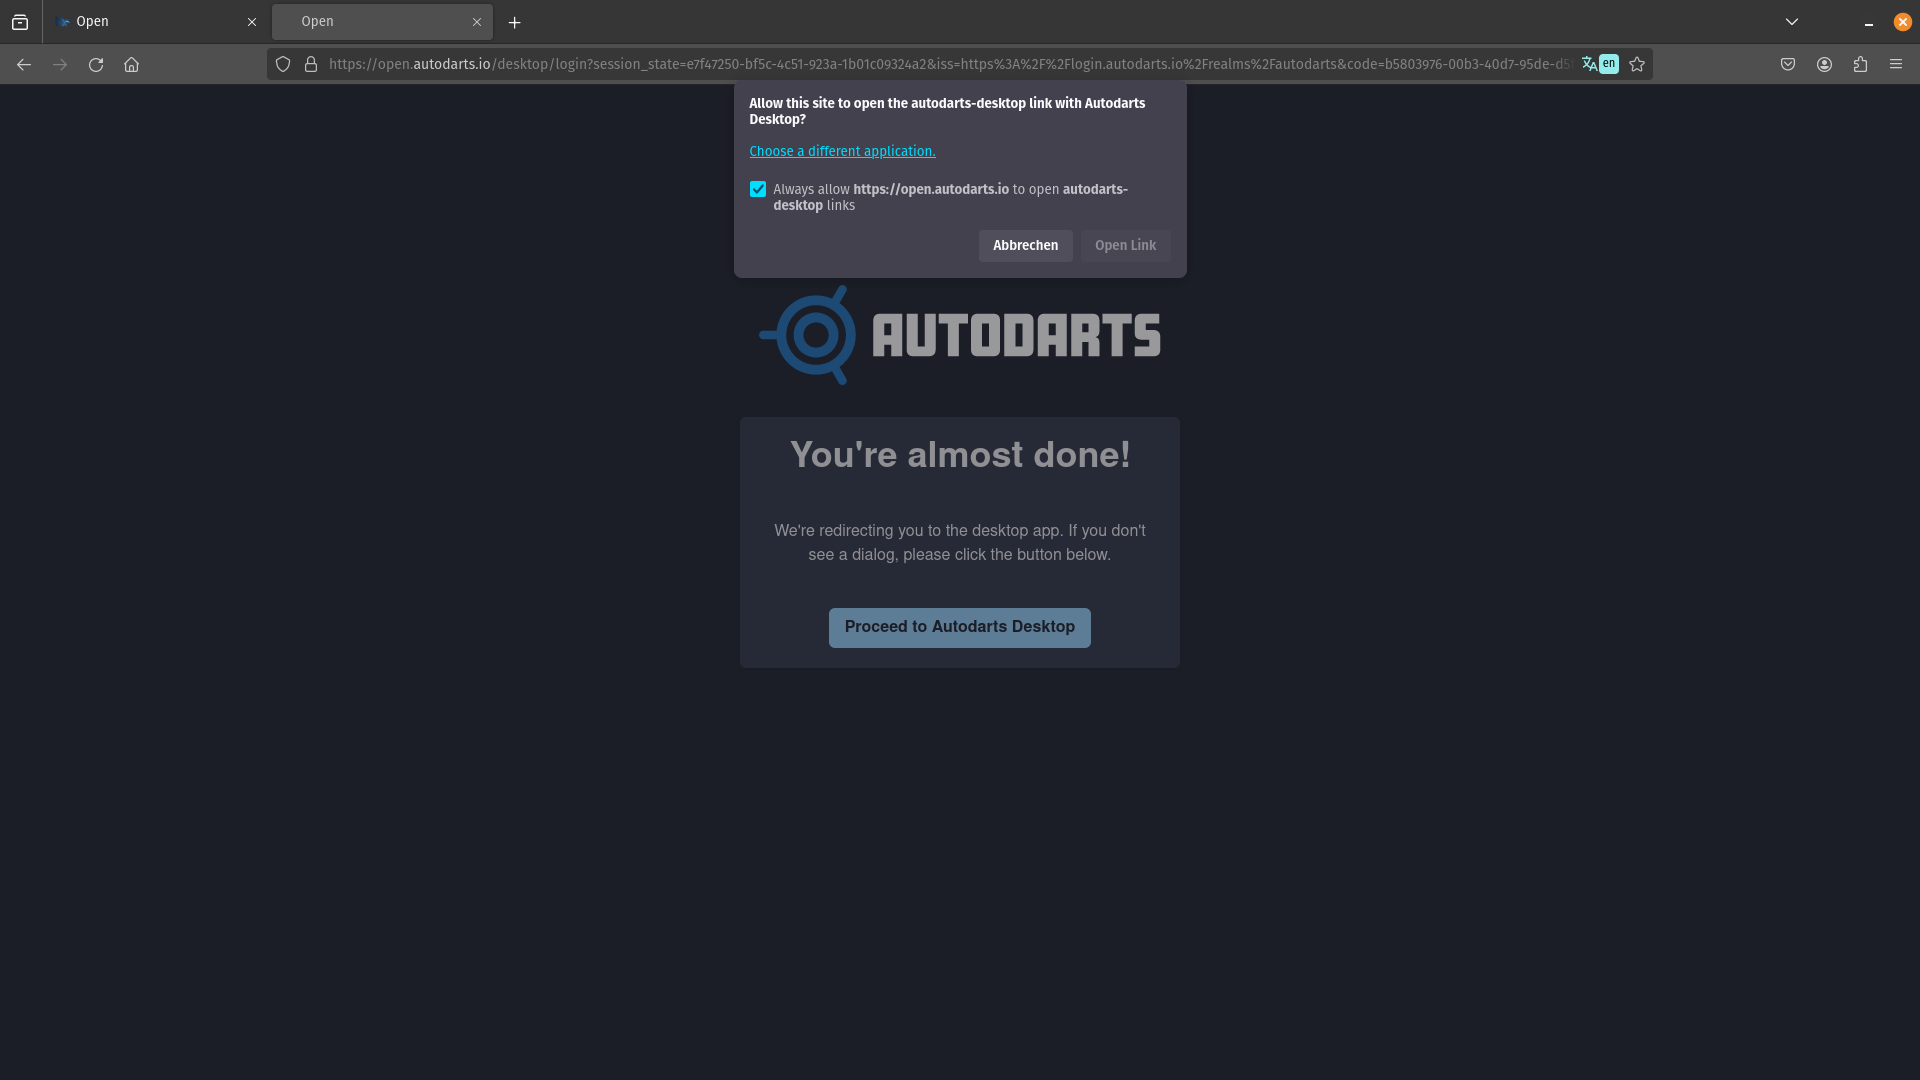
Open the Autodarts Desktop Client. You will encounter a screen prompting you to sign in to Autodarts. Click on the “Sign in with Autodarts.io” button, which will open your browser. Sign in and click on ‘Open Link’.
Now it’s time to set up a Board. You can either create a new Board or claim an existing one. You will only see the ‘Claim Board’ option if you have already created a board within your Autodarts.io Account.
ImportantClaiming a board will unregister it from other devices that might be using it

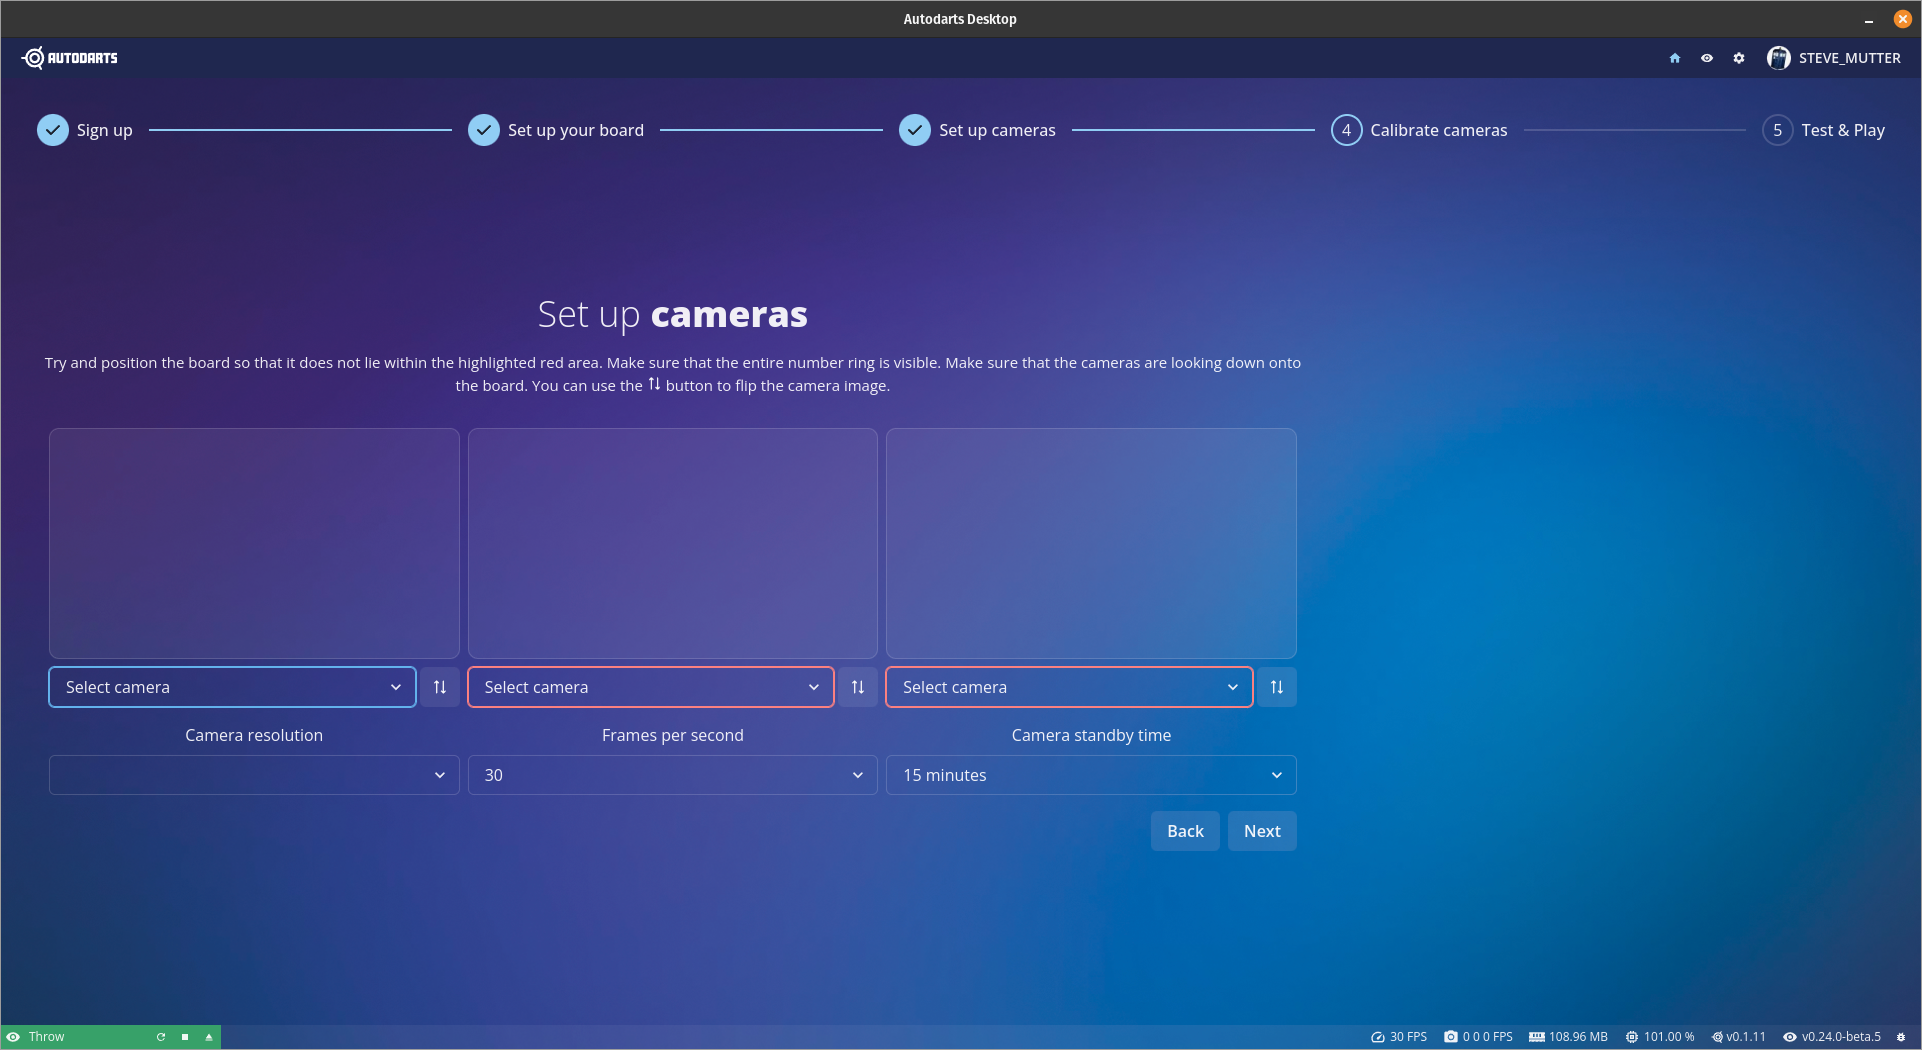
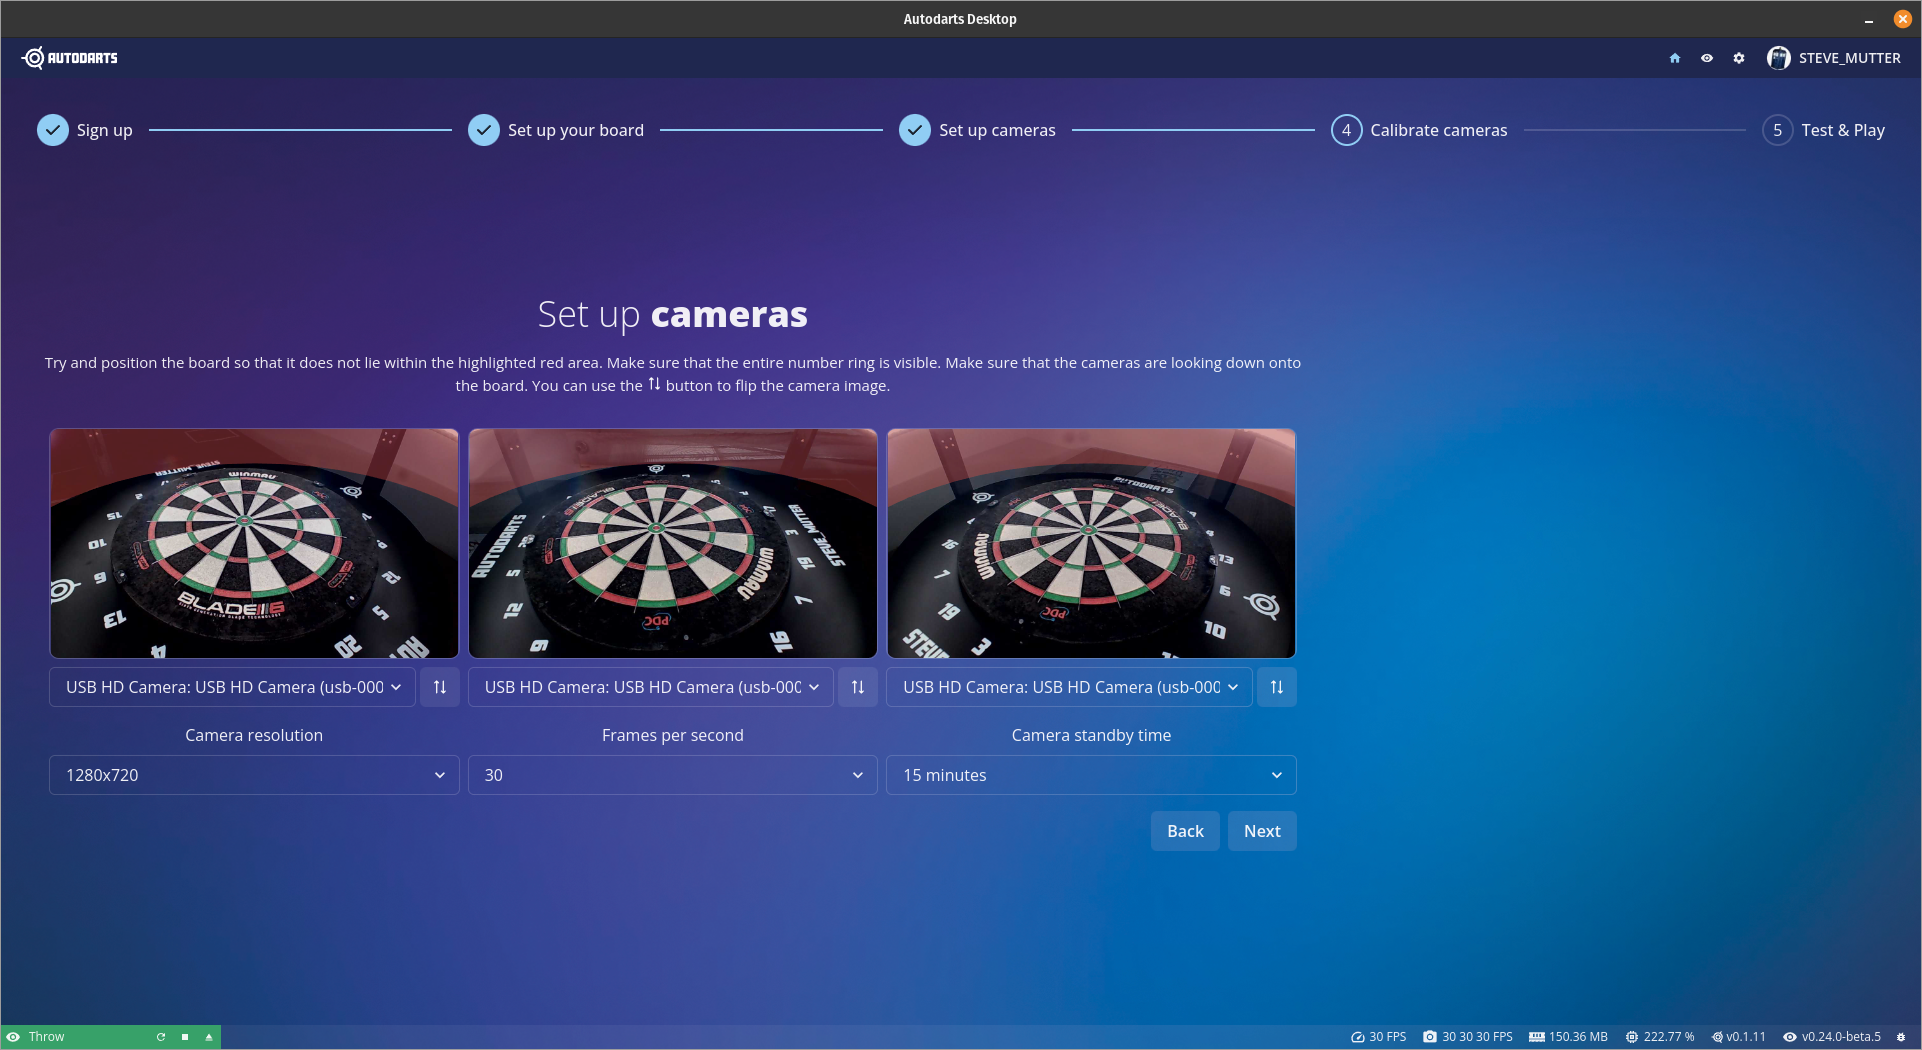
In the next step, you will be able to select your cameras, change the resolution, framerate, and the camera standby time. Beside the dropdown for your camera selection, you will find a button to flip your cameras by 180 degrees.
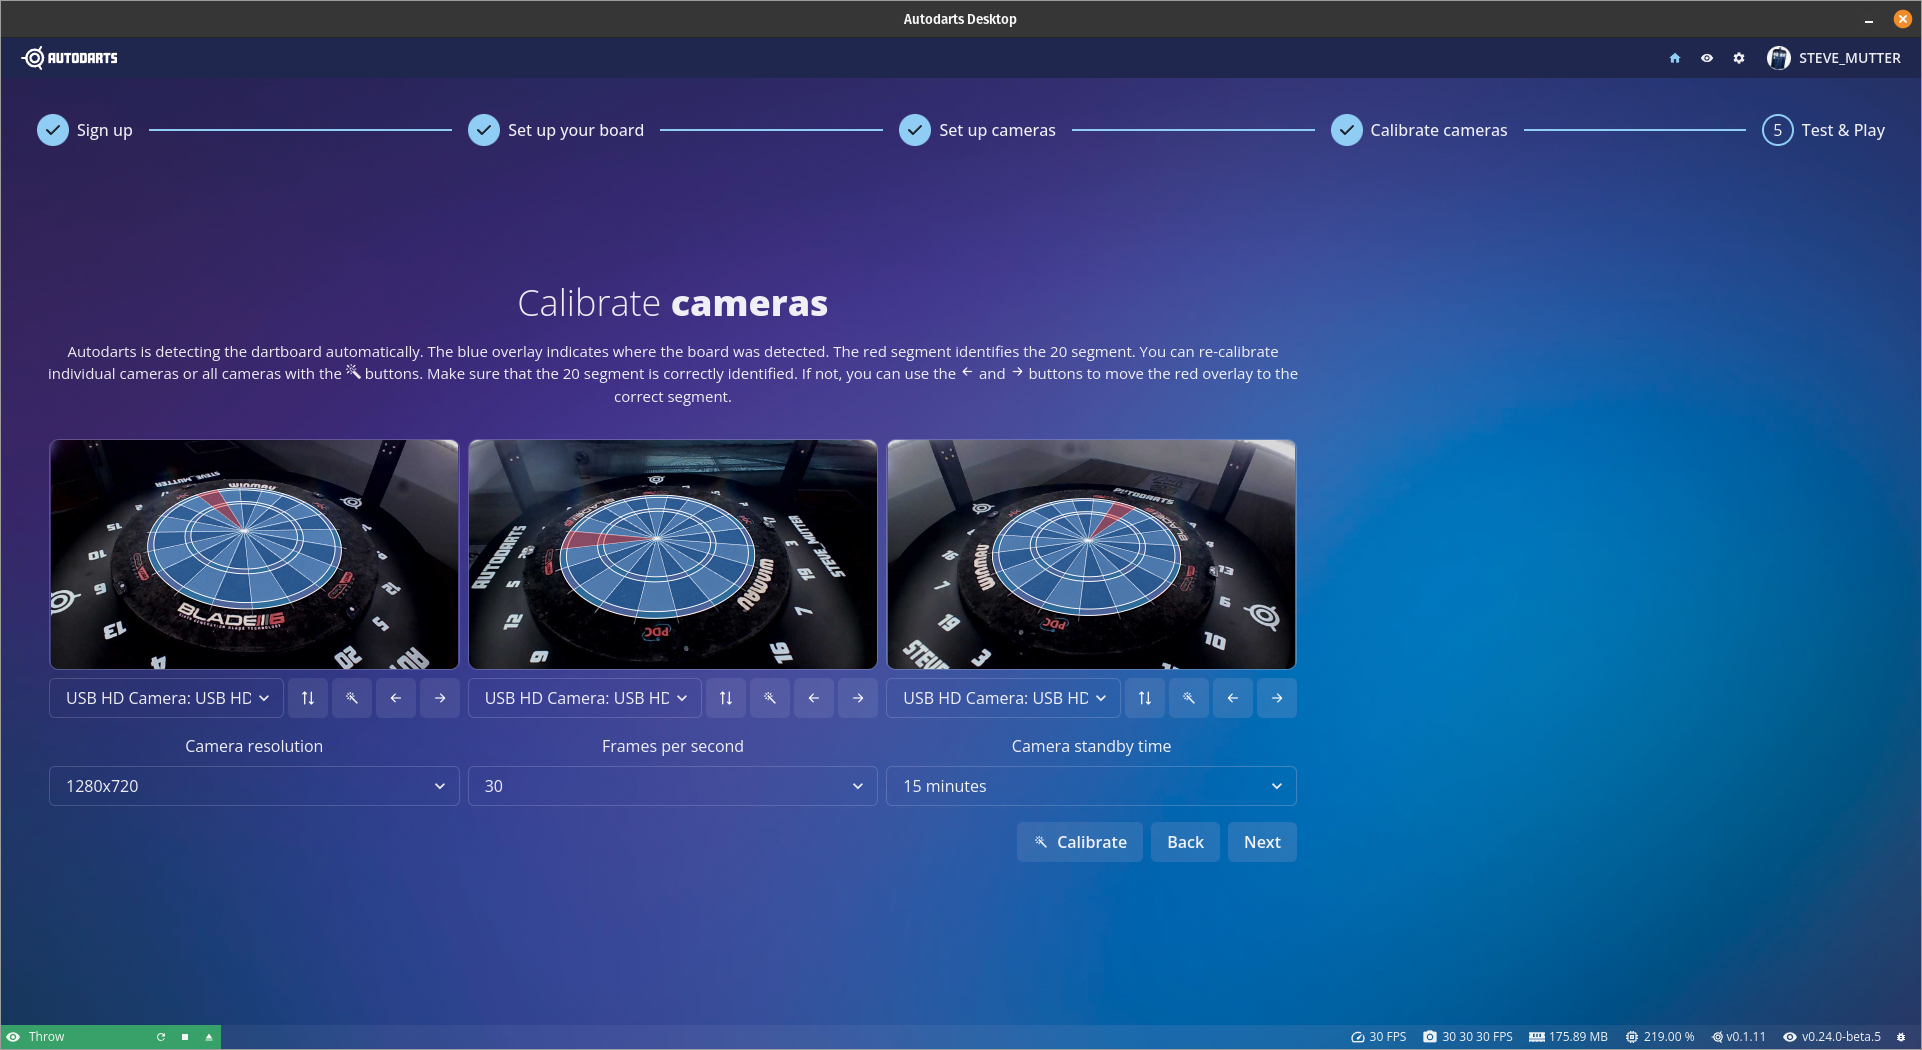
In this step the algorithm will attempt to calibrate your Board automatically. Locate the ‘20’ field and mark it in red. If it’s not possible to locate the ‘20’ field correctly, you can adjust it manually by clicking the arrow buttons below the camera view.
InfoPlease note that starting from version 0.24.0, the algorithm takes care of possible distortion in your camera lens. That means, with software versions above 0.24.0, you do not have to manually adjust distortion if needed.
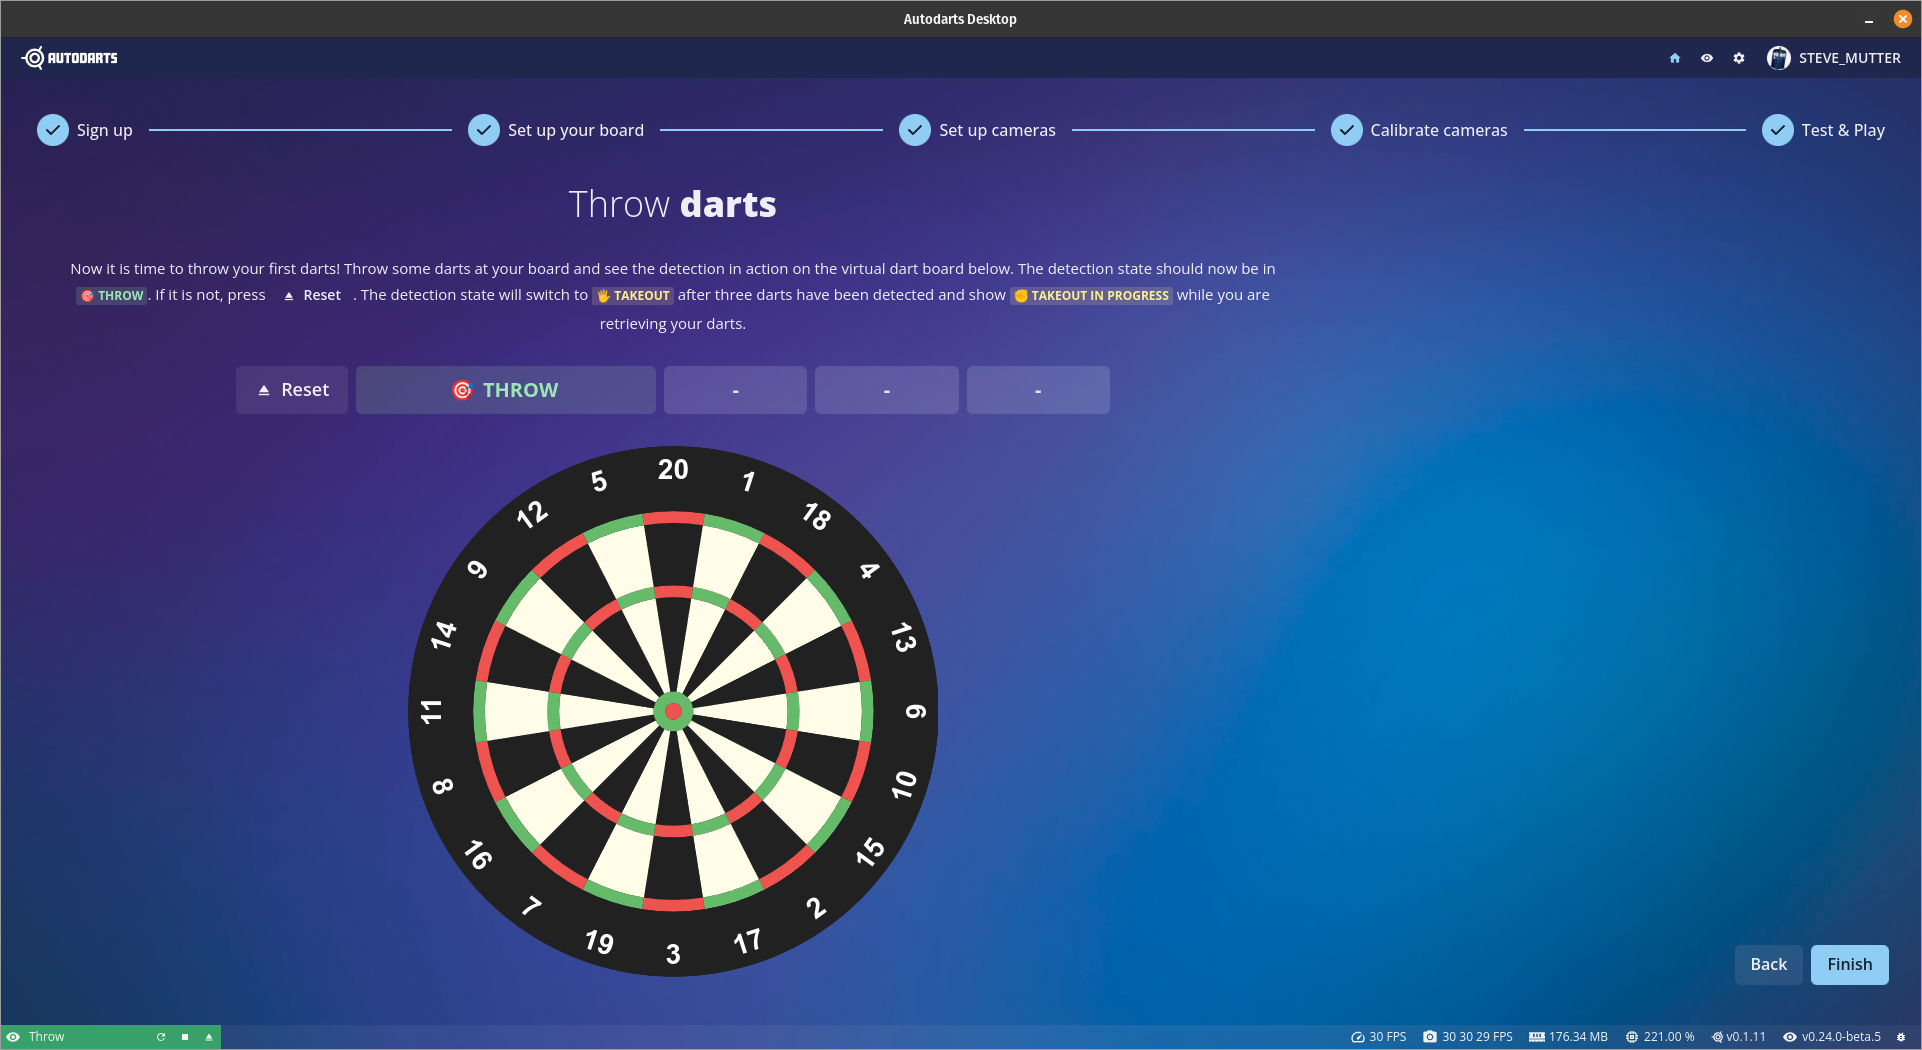
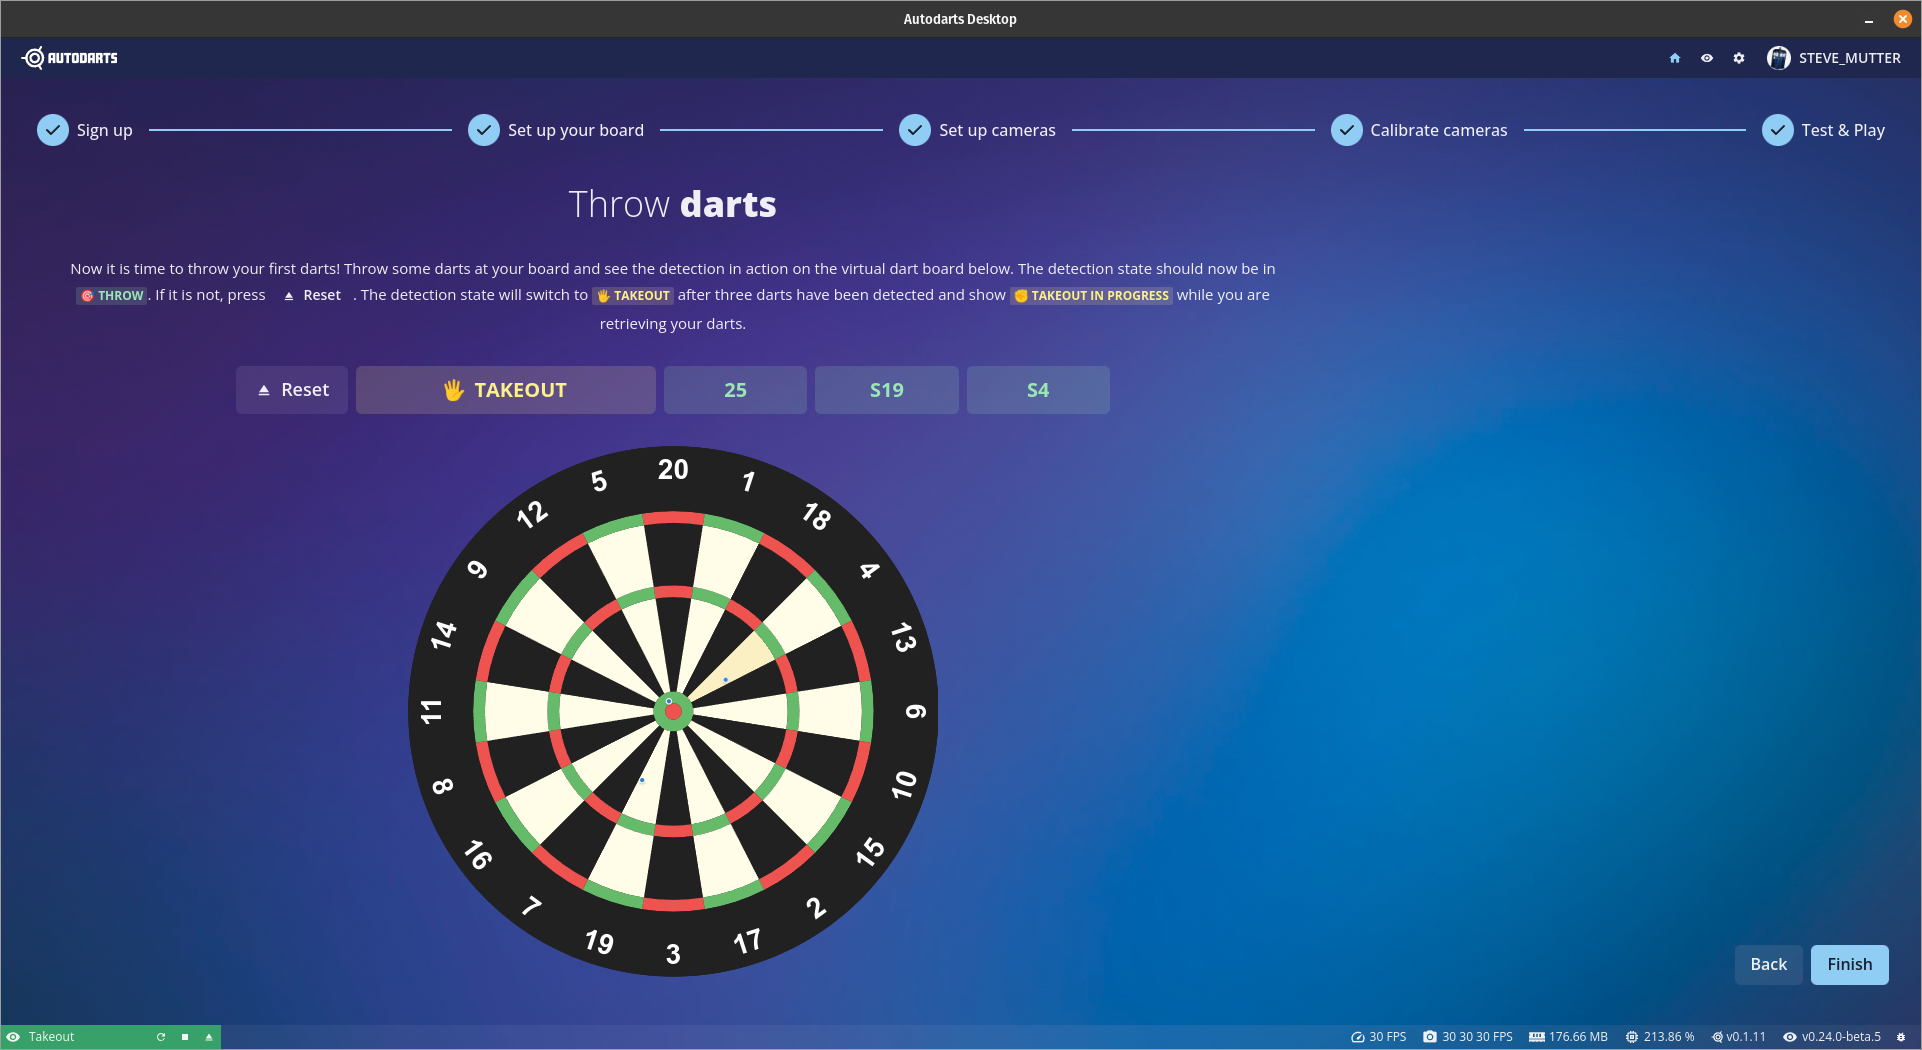
Now it’s time to test if everything went well. Throw your darts and check if they are recognized correctly.
Congratulations. If you managed to finish the setup you will land on the home screen and able to start to play darts via play.autodarts.io
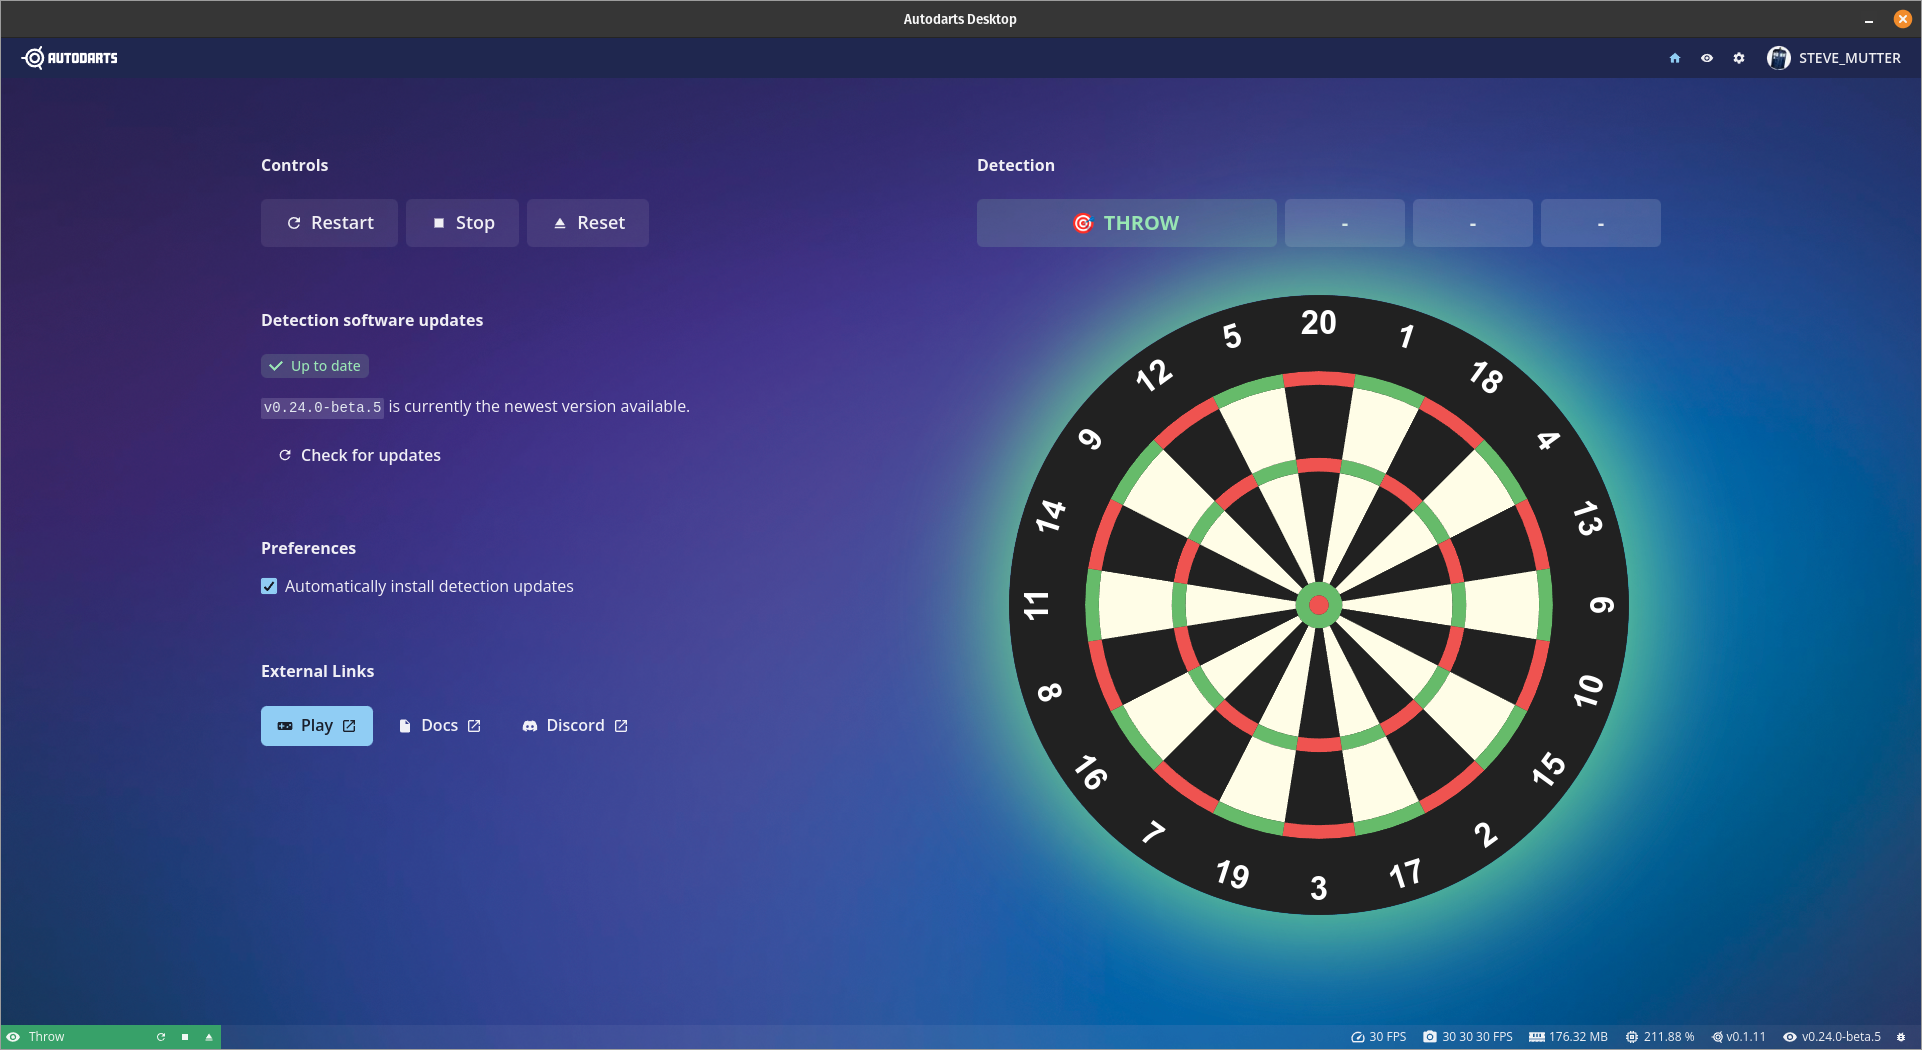
InfoFor a more detailed explanation of all the functions within the Autodarts Desktop Client, please consider checking out the ‘Overview’ tab within the documentation.